The Royal Wedding of Harry and Meghan Markle is upon us, and amidst all the solemn happenings in the world today, this real-life fairy tale is a welcomed diversion.
In honor of the wedding, we came up with a quick, easy and fun DIY fascinator for kids. We wanted to be dressed for the occasion, even if we’ll be in PJs.
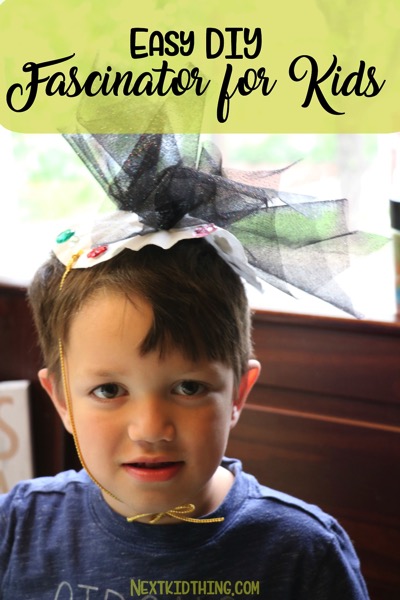
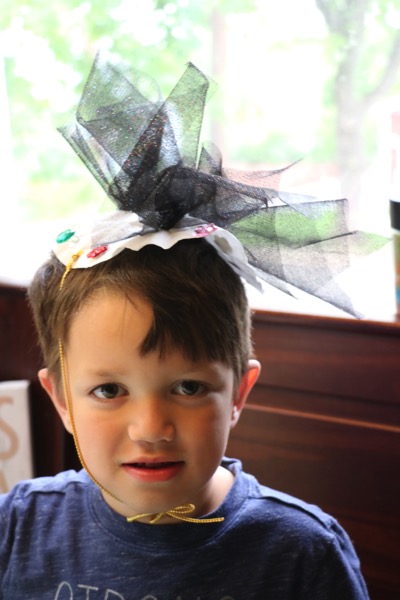
Fascinators are fabulous accessories that are not quite a hat, but more a clip with fancy flair. Fascinators date back to the Renaissance and were typically worn by women. These accessories are often adorned with feathers, netting, tulle and other exquisite textiles. Hats and fascinators are staples at the Royal Wedding, so we wanted to dress the part at home. Josh is aware that fascinators are for ladies, but he obliged me with this fun project.
Supplies
And because we’re fancy, we’ve created fascinators with supplies that we already had at home. No trip to the milliner for these fancy accessories!
For supplies, you’ll need a round base, either a small plate or coffee filters. The rest of the supplies should be what you’ll decorate your fascinator with: tulle, fabric, jewels, stickers. You should also have a pair of scissors, glue, hole puncher and ribbon or string.
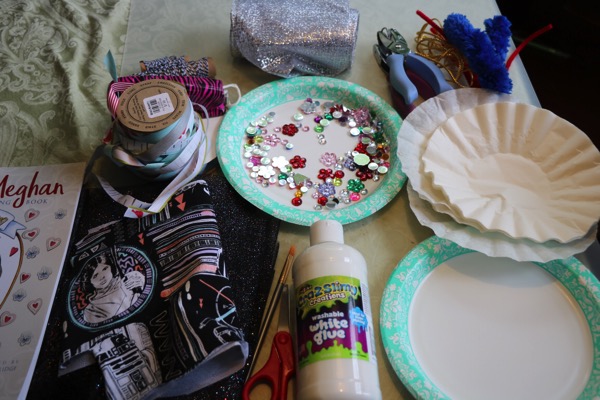
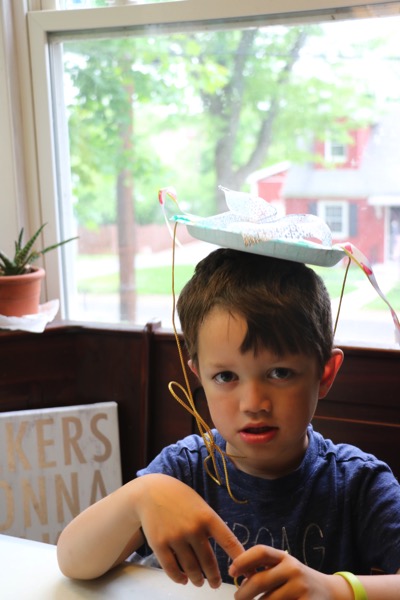
There’s no right or wrong way to create your fascinator. Josh went the paper plate route, while I went the coffee filter route. The paper plate was a bit harder to work with since it doesn’t conform a well to your head.
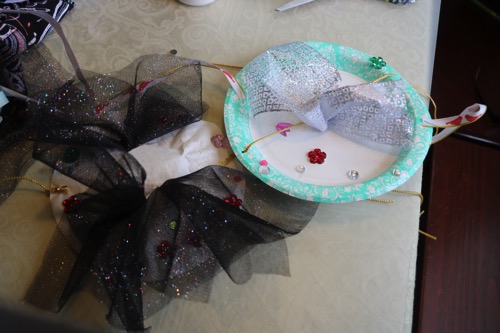
I chose the coffee filter since it was light and easy to decorate. Before decorating the fascinator, you should make the holes on either side of the plate or coffee filter. These holes should be directly across from each other and somewhat even. This is where the ribbon or string will go.
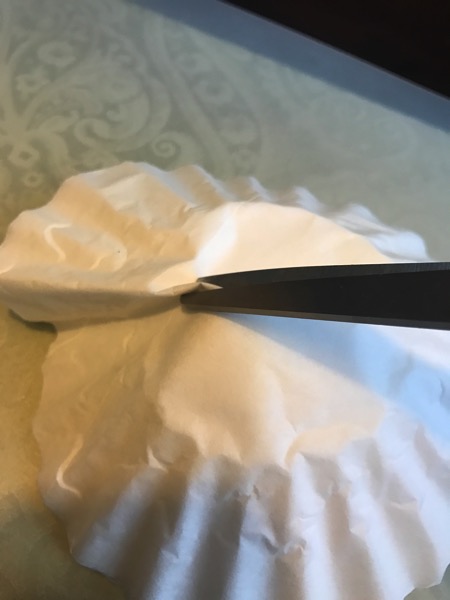
Next, take the scissor and make several smaller slits, big enough to poke fabric ro tull through, but small enough so that it can’t fully fit. After you’ve made the slits, just tuck the tulle into the slits. Tulle was the best to work with since it’s light, yet stiff. Once the tulle is positioned to how you like it, it’s time to bedazzle and decorate.
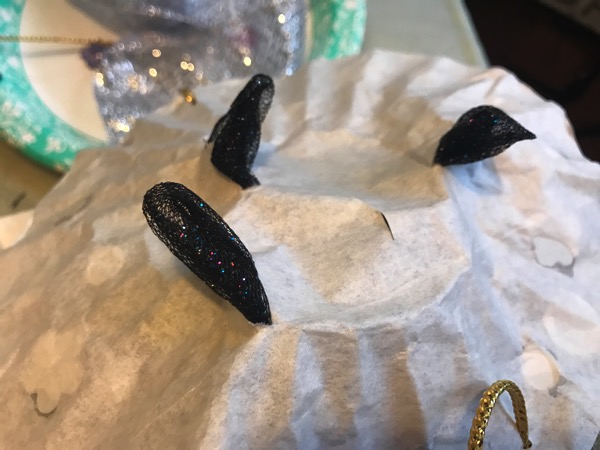
Josh wanted some ribbons, I wanted more gems. Go to town until the fascinator is as basic or extra as you wish! This craft is meant to be easy enough for little kids to do, so there’s no need to make it more complicated than it has to be; trust me, I’m good at complicating crafts!
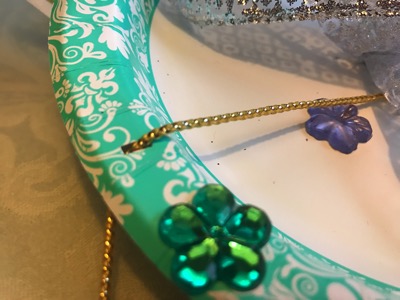
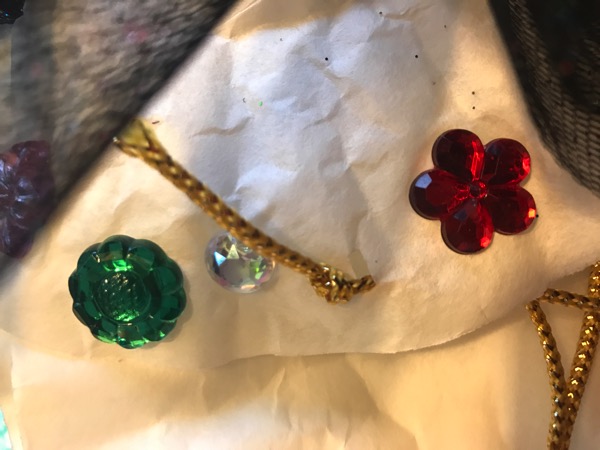
Once things are in place, it’s time to feed the ribbons through the holes. Once you feed the ribbon through the holes, tie it into a knot on both sides. Once you complete the finishing touches, try on the fascinator. Many people choose to wear their fascinators on a tilt on the side of their head. It’s your fascinator, so you choose! And there you have it! You can dress up for the royal wedding with your unique fascinator in just minutes!
I’m especially excited for this wedding because I’ve always admired Harry’s candor and the way the couple are both champions for charitable causes. I love what Meghan symbolizes; she’s an American actress who has paved her way with her intelligence and style, and who happens to be biracial. We can’t wait to watch the wedding!
If you check out the wedding, don’t forget to check out all the great hats and fascinators!
