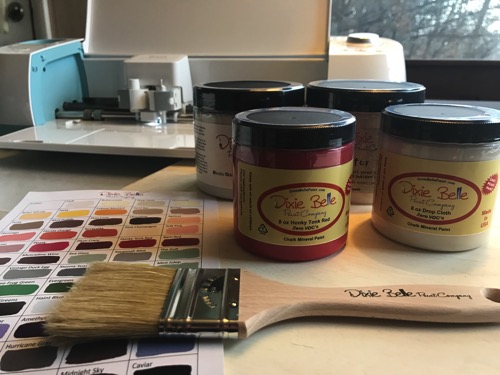
DIY Irish Blessing Canvas

St. Patrick’s Day is such a beloved holiday in our area. The prominence of Irish culture is emphasized with so much in mid-March. In honor of that, I wanted to create a festive canvas as a nod to all of the St. Patrick’s Day festivities.
IMG 4480

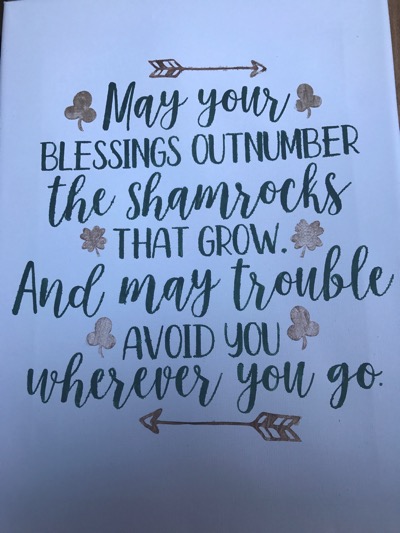
I absolutely love Irish blessings. There’s a beautiful saying that’s appropriate for everyone. For this canvas, I chose a simple but true blessing that would be applicable to almost anyone.

May Your

Blessings Outnumber

the Shamrocks

That Grow.

And May Trouble Avoid You Wherever You Go

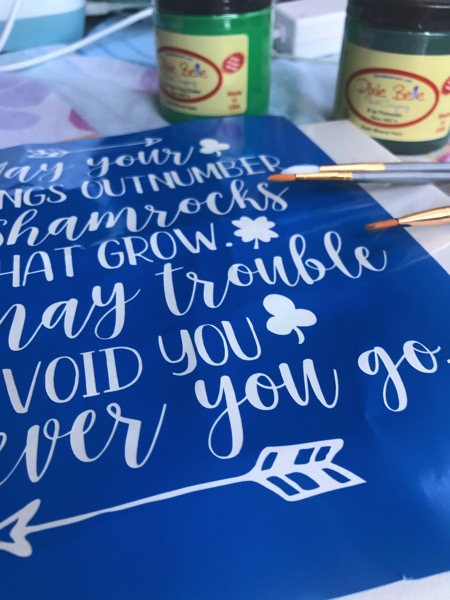
For this canvas, I created a stencil with vinyl and cut it with my Cricut. Weeding the stencil, and ensuring I caught every single period and detail was probably the most laborious part of this project.

Once it was all weeded, I transferred the vinyl stencil carefully to the 8.5 x 11 canvas. This part was more tedious than anything else. The transfer tape that I used was a little too strong, so I struggled a bit. I would definitely recommend using a lighter tack transfer tape to get everything onto the canvas seamlessly. Be sure to burnish the vinyl very well to avoid any possible leaks or bleeds.

Once you’ve burnished the vinyl onto the canvas, select your colors and brush. I chose Dixie Belle’s Palmetto which is a beautiful deep, yet subtle green.
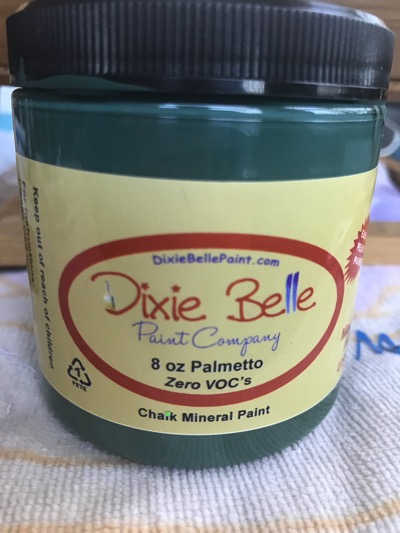
IMG 1107 A palmetto is a fan palm tree, which is prominent in the southern U.S. And since we have our fourth Nor’Easter upon the horizon, making this feel like the longest winter ever, I have visions of warmth, sunshine and palm trees. 


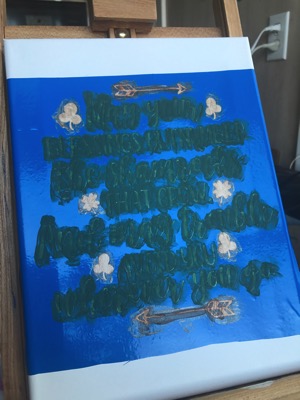
Palmetto was the perfect green for this canvas. I wanted the quote to be accented by gold, and to showcase the visual contrast in the fonts. Once I aligned the stencil, I took a smaller brush to lightly paint in the letters and shamrocks. For projects like this, less is always more. With each stroke, the shade gets a bit deeper, but be careful with overdoing the paint distribution. If you add globs at a time, the pain is more likely to bleed through the stencil and look sloppy. Small, light strokes works best for this canvas.
IMG 5527

Since Dixie Belle’s paints dry with ease, just keep an eye on the canvas. I usually take the stencil off before the paint completely dries. When taking off the stencil, go slowly, just to ensure you don’t drip or create streaks with the semi-dry paint. It doesn’t take Dixie Belle paint to dry, so I was finished with this project in under 2 hours. I love how it turned out, and it’s definitely something I can keep up well beyond St. Patrick’s Day.
 

IMG 2467


Love Makes a House a Home: Painting Upcycled Wood Signs

For Valentine’s Day, I wanted to create a sign and gift that would be relevant all year long. So, I designed a sign with a quote that I’ve seen floating around in various capacities.

LoveMakesahousea home

How true is that? And how relevant is this for this time of year, where love is the emphasis, but should truly be the emphasis all year long.

I created the text and image in PicMonkey and then used Cricut’s Design Space to apply my design and create my template.

IMG 6305

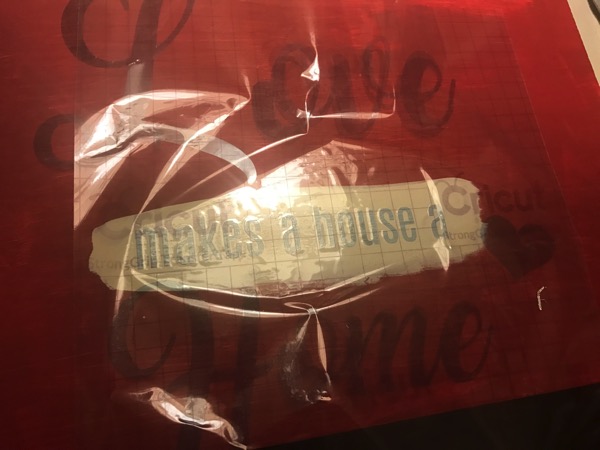
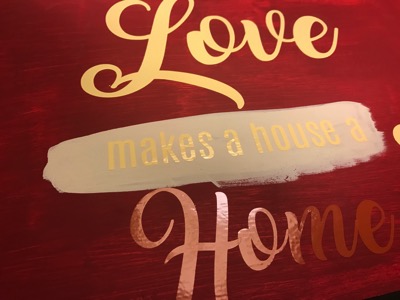
Before I did any painting, I prepped my upcycled wood. I sanded it a bit and then made sure it was clean of any debris. I then measured and painted where I wanted the different colored words to be. So, I used Dixie Belle Paint’s DropCloth for the white-ish secondary text and Barn Red for the Love and heart images.

IMG 6308 2

I love that you don’t need much paint when using Dixie Belle paints. I did several smooth strokes of each color, which was probably 2 coats in all.

Once it dried, I applied the vinyl template. I did the positive part of the template, meaning I applied the actual words, and then I will peel off later to reveal the color beneath. I prefer using Cricut for my template because I know it will stay. This step can be the most laborious and tedious part, but I promise, the end result is so worth it. When applying the template, be sure to lay it as flat as possible to avoid any air bubbles. Air bubbles can lead to bleeds and gloppy messes.

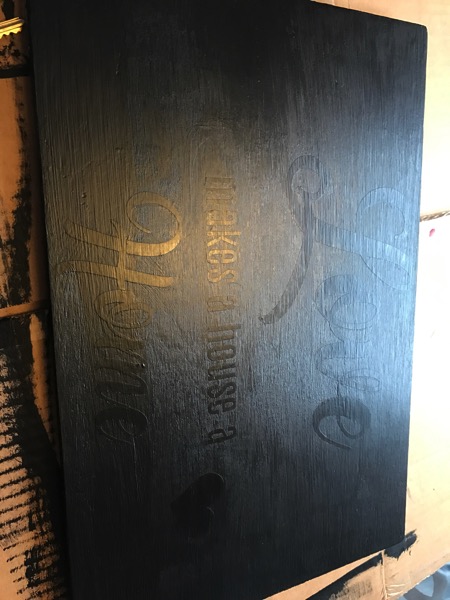
When the template is applied, go ahead and paint over everything with the color you choose for the base color. This color will be the main color of the sign, so be sure it contrasts enough without overpowering the underlaying colors. I chose a basic black chalkboard paint, so I can draw or write on it later with chalk.

IMG 6334

Paint 1-2 coats of paint, making it as smooth as you can. Alternatively, since the rustic look is in, don’t feel like it has to be perfect so you can adjust it later. Once everything is just about dry, locate the letters and take a pointy tool to start lifting the letters. I do this step slowly before it’s completely dry so that it has some give. Sometimes when it’s totally dry, it can be solidified, making it difficult to release the underlying letters.

LoveMakesa-House-a-HomeIMG_6337.JPG

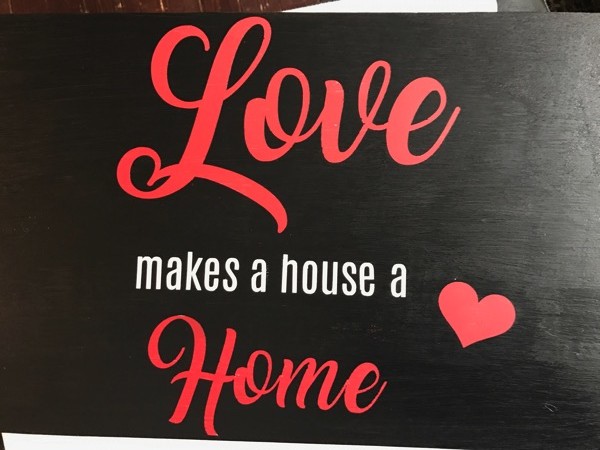
Once you peel off the letters, you should see the underlying colors that you painted in one of the first steps. As mentioned, if you want to make it more rustic, feel free to hand sand the sign along the edges. I was planning on doing this, but I ended up loving the end result so skipped the sanding!

And there you have it! A rustic farm-house style sign that reads Love Makes a House a Home!

Full Disclosure: Dixie Belle Paints sent products to facilitate this craft. As always, opinions on NKT are my own.

Partnering with Dixie Belle Paint Company

I’ve always been a crafty person, but started covering different projects last year. I engaged on several DIY hashtags, which resulted in a cool new partnership. Since I’ve been having a professional/personal existential crisis of sorts (in between some unexpected family medical stuff,) so I love that this new partnership with the Dixie Belle Paint Company is giving me a new look on things!  I’m working on finishing up some photos and videos on a few tutorials, but I wanted to share this fun new emphasis I’m working on for the blog. Be sure to check out my Insta Stories; I’ve grouped various DIY projects under DIY life, so be on the look out.


IMG 6255